

Google Workspace (formerly G Suite) offers a powerful suite of productivity tools that can greatly enhance your business or personal email experience. By setting up Google Workspace directly in Name.com, a trusted domain provider, you can seamlessly integrate your domain with Google’s tools. In this blog post, we will walk you through the process of setting up Google Workspace in Name.com, allowing you to enjoy the benefits of a professional email address with your own domain.

Step 1: Choose a Domain Name
Begin by selecting a domain name that aligns with your brand or personal identity. Visit Name.com (www.name.com), a reputable domain registrar, and search for the availability of your desired domain name. Name.com offers a wide range of domain extensions to choose from, such as .com, .net, .org, and more. Once you find an available domain, proceed to register it with Name.com.
Step 2: Purchase Google Workspace in Name.com
After securing your domain name, log in to your Name.com account and navigate to the Domain Management section. Locate the domain you registered and click on the “Add-ons” or “Apps” tab. Look for the option to purchase Google Workspace. Name.com offers convenient plans for Google Workspace, allowing you to choose the edition that suits your needs, such as Business Standard or Business Plus.
Step 3: Configure Google Workspace Settings
Once you have purchased Google Workspace through Name.com, you will be prompted to configure the settings. Provide the necessary information, such as your domain name and the number of user accounts required. Take this opportunity to customize additional settings, including storage limits, access permissions, and security options.
Step 4: Verify Domain Ownership
To verify your domain ownership and link it to Google Workspace, Name.com will guide you through the process of adding the required DNS records. These records serve as proof that you own the domain and authorize Google to handle your email services. Follow the instructions provided by Name.com carefully to add the necessary TXT or CNAME records to your domain’s DNS settings.
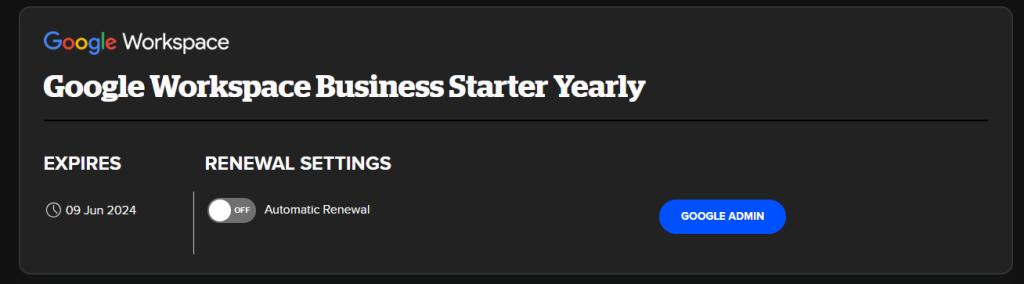
Step 5: Activate Google Workspace
Once you have successfully added the DNS records, return to Name.com and click on the “Activate” or “Enable” button for Google Workspace. Name.com will verify the DNS records and initiate the activation process. It may take some time for the changes to propagate across the internet, so be patient during this step.
Step 6: Set Up User Accounts and Customize Settings
After Google Workspace is activated, you can start creating user accounts with your domain name (e.g., yourname@yourdomain.com). Customize the settings according to your preferences, such as email filters, signature templates, and security options. Google Workspace offers a comprehensive range of tools, including professional email, cloud storage, collaborative documents, and video conferencing solutions.
Conclusion:
Setting up Google Workspace directly in Name.com simplifies the process of integrating your domain with Google’s powerful productivity tools. By following the step-by-step guide outlined in this blog post, you can seamlessly configure your Google Workspace account, verify domain ownership, and start enjoying the benefits of a professional email address with your own domain. Enhance your online presence and streamline your communication by leveraging the combined capabilities of Google Workspace and Name.com.


